


Troubleshooting Power Automate - Non-default Environment Bug in SharePoint
November 06, 2023
1 min
Do you want to create a Bingo game using just PowerApps and Power Automate?
Here are the steps on how to do it.
Note: To make it fun, I will use Bingo Game to record the activities I need to do form my Pet.
Each time I finish a Activity, I can mark that activity as completed in my Bingo.
Let’s start by creating our SharePoint List First.
We will create 3 Custom SharePoint to store our data for our Bingo Game.
Bingo Pet Activities - This is we are going to store the list of Activity that needs to be done
| Column Name | Column Type | Description |
|---|---|---|
| Title | Single Line of Text | This would be use for short description of item |
| Image Url | Thumbnail | This would would hold the picture of each activity |
| Positioning | Number | Positioning in the Bingo card |
| VerticalPattern | Single line of text | This is hold the winning pattern |
Bingo Pet Activities - This would hold the completed activities
| Column Name | Column Type | Description |
|---|---|---|
| Title | Single Line of Text | This would be use for short description of item |
| Challenge | Lookup | Referncing to our Initial Lists |
| Submitted Date | Date and Time | |
| Submitted By | Person or Group | |
| VerticalPattern | Single line of text | This is hold the winning pattern |
Bingo Pet Winners - This would store list of Winning Pets
| Column Name | Column Type | Description |
|---|---|---|
| Winning Pattern | Single Line of Text | This is to show what winning pattern they won from |
| Winner | Person or Group | Name of the Winner |
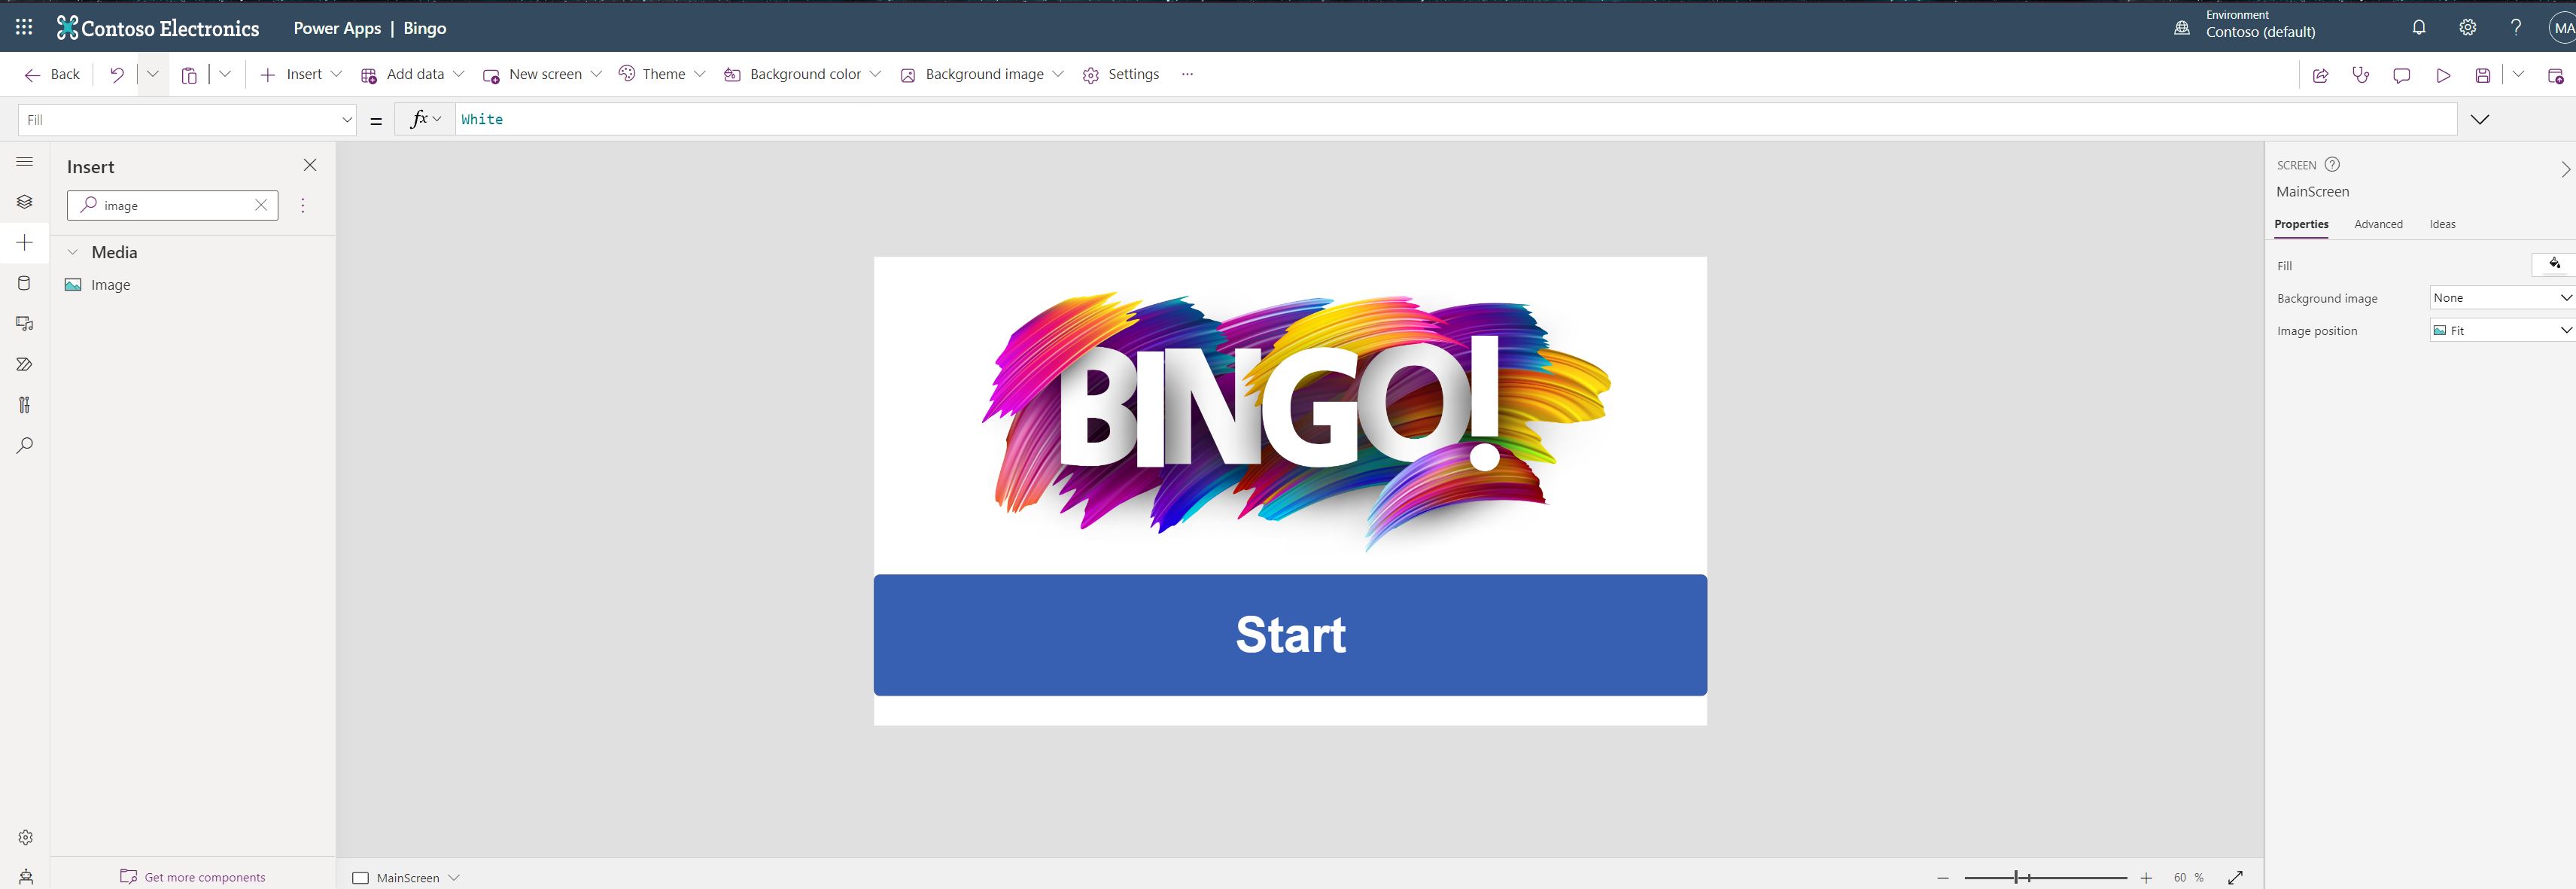
Let’s create a home screen first of our App that will welcome our Players
Now let add another screen(let’s call it Bingo Screen) that will and then add a Horizontal Gallery
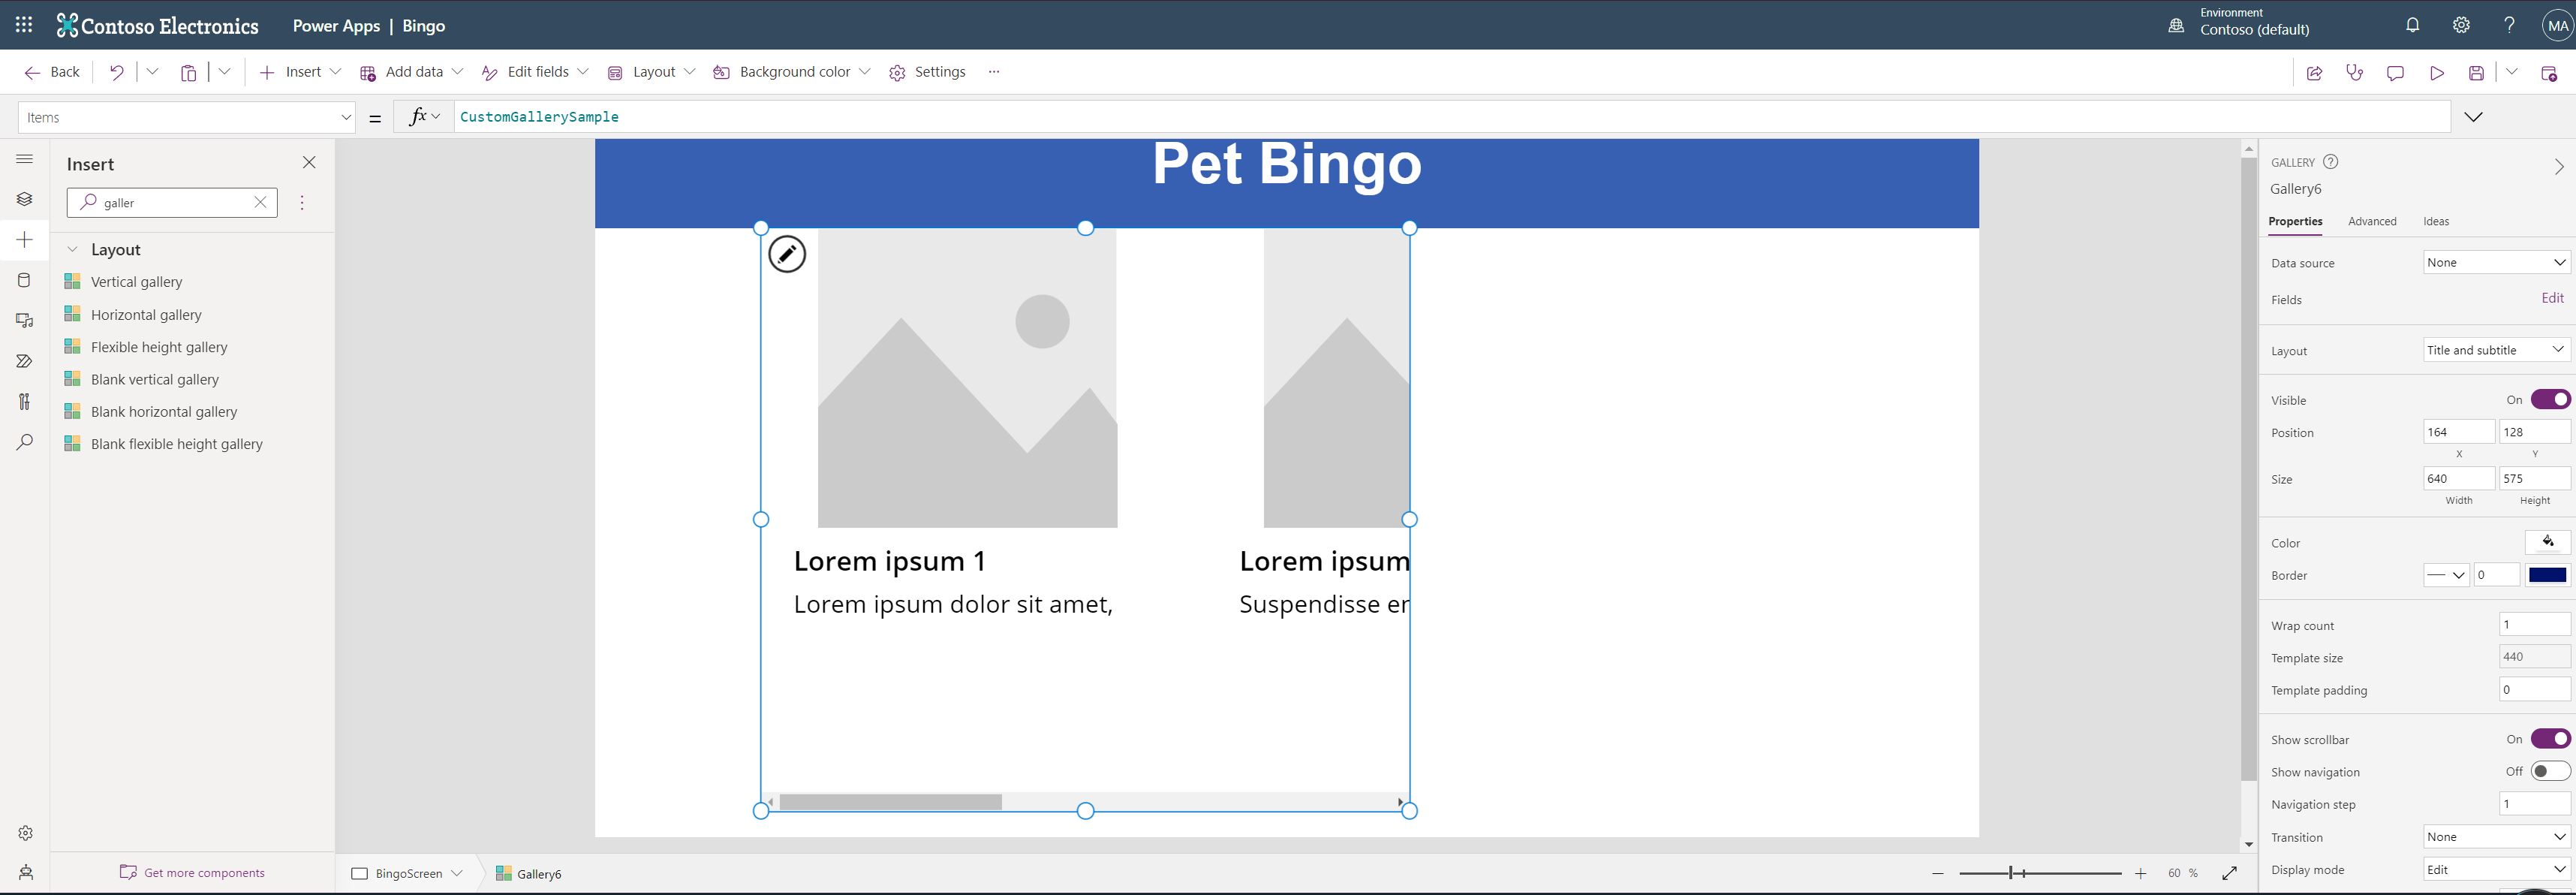
We will not Connect this gallery(BingoGallery) to the “Bingo Pet Activities” SharePoint Lists we created earlier.
Try to adjust the image, so it looks like this.
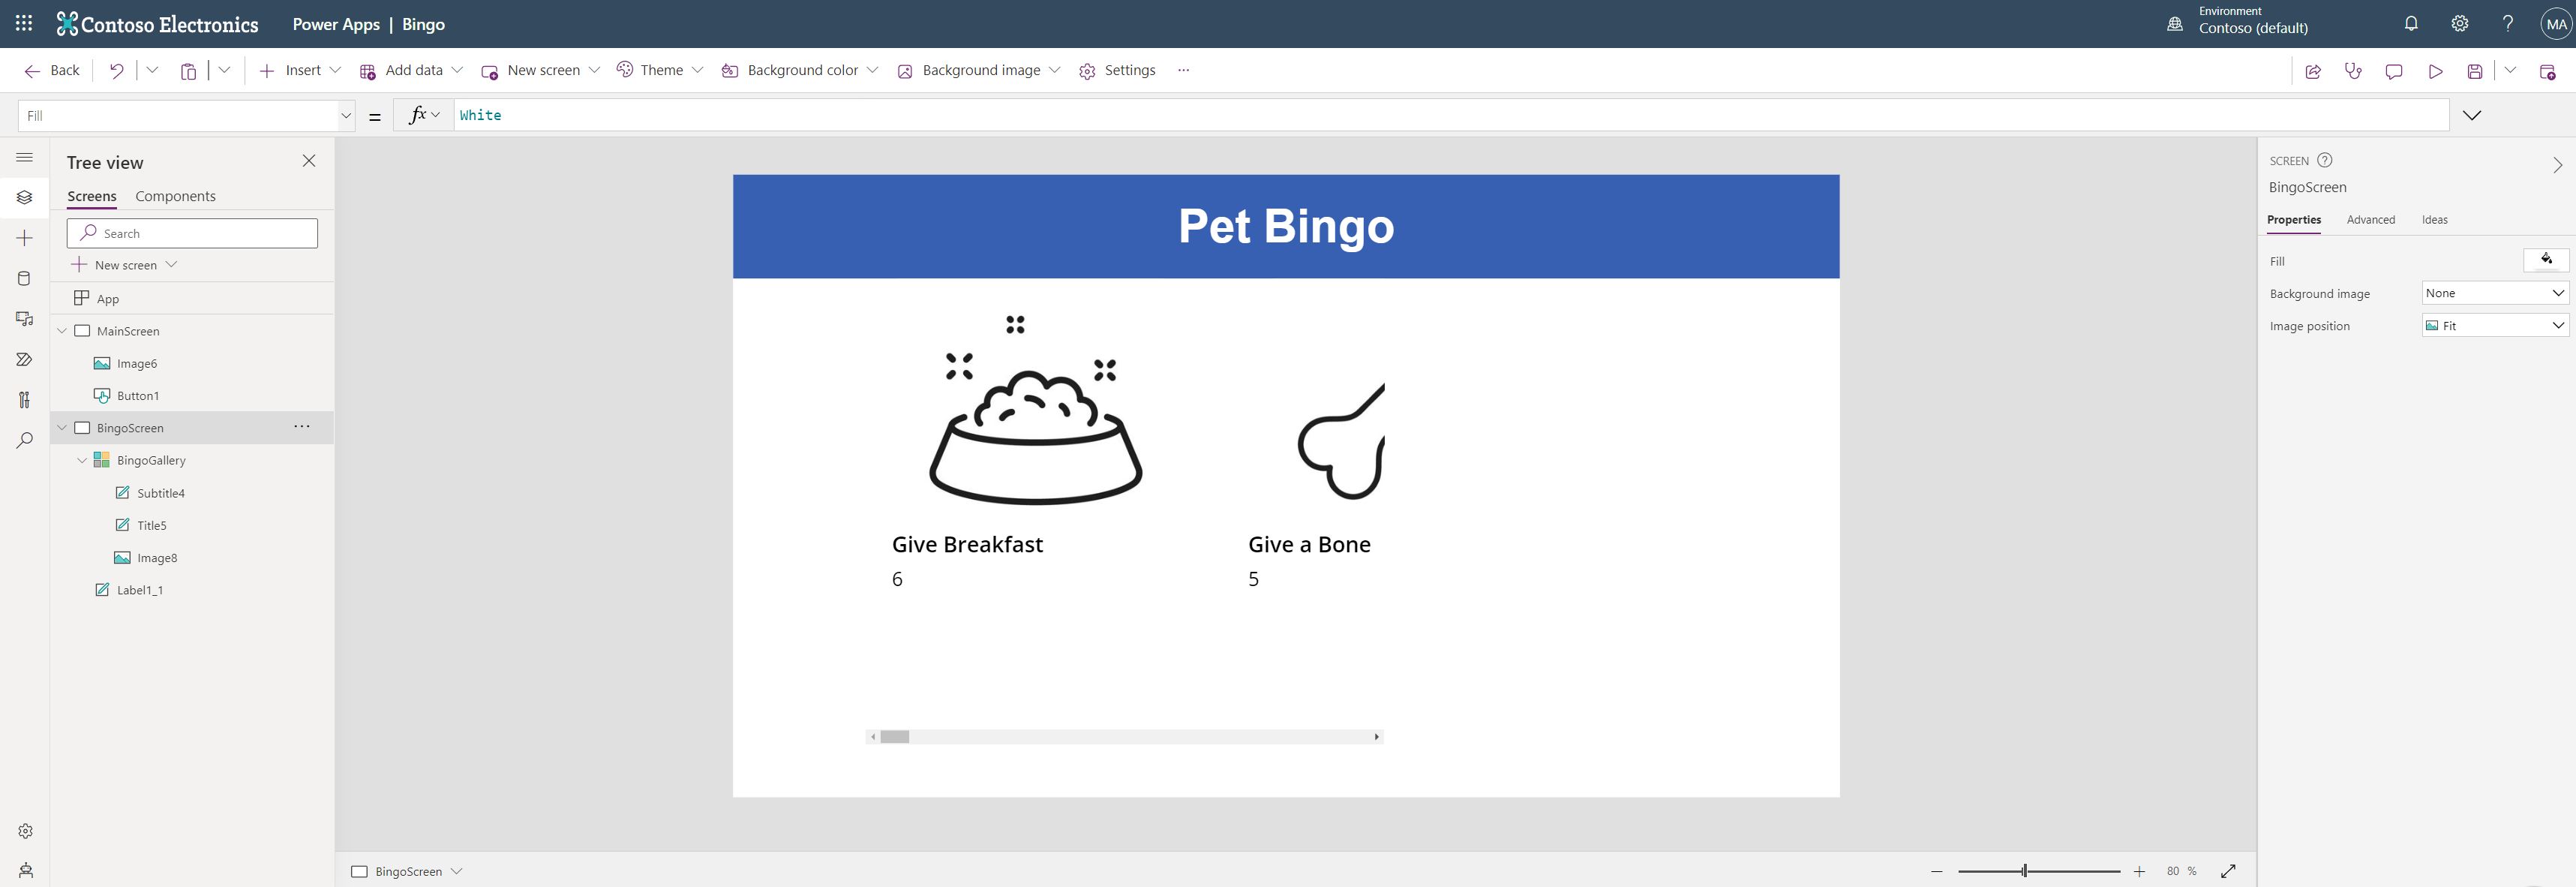
I adjusted the following properties in my Gallery.
| Property Name | Property Value |
|---|---|
| Wrap Count | 5 |
| Item | Sort(‘Bingo Pet Activities’, Positioning) |
| Scrollbar | Off |
After doing manual adjustment it should look like this

I added a button as well for completing an activity
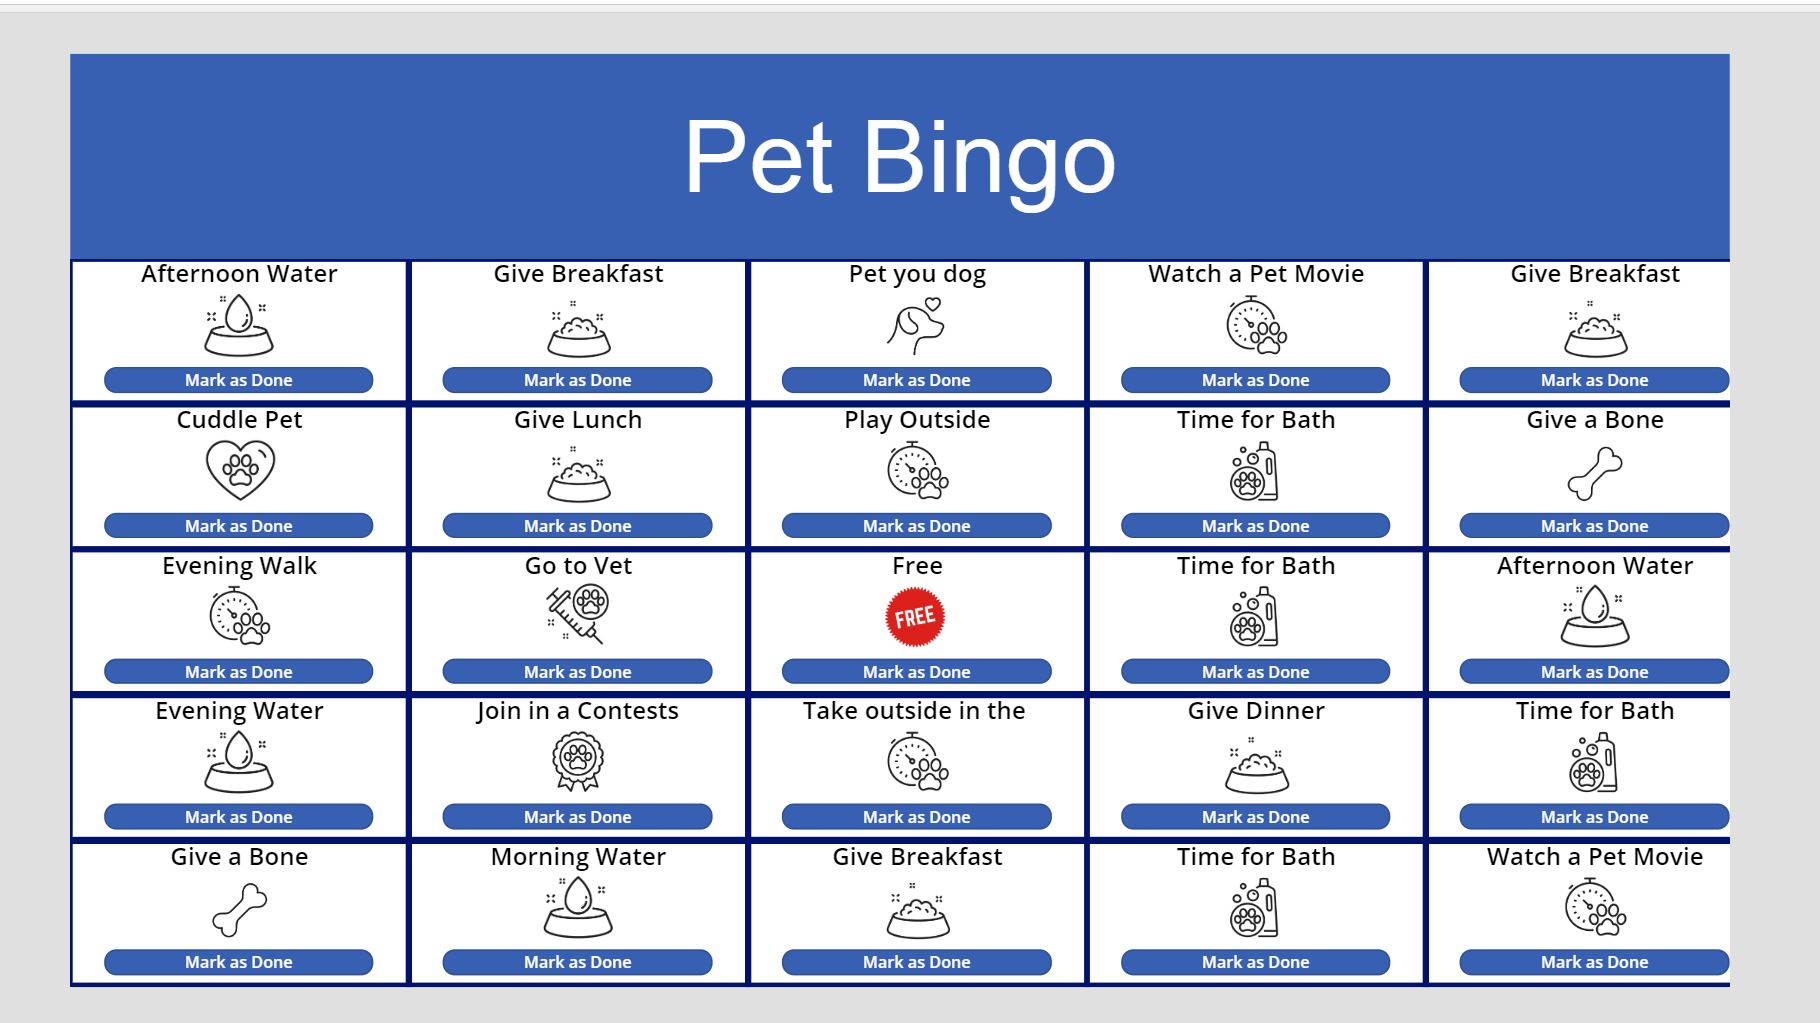
On the “Mark as Done” button, I will just change the “OnSelect” property of the button and put in
ClearCollect(colSelectedChallenge, ThisItem)
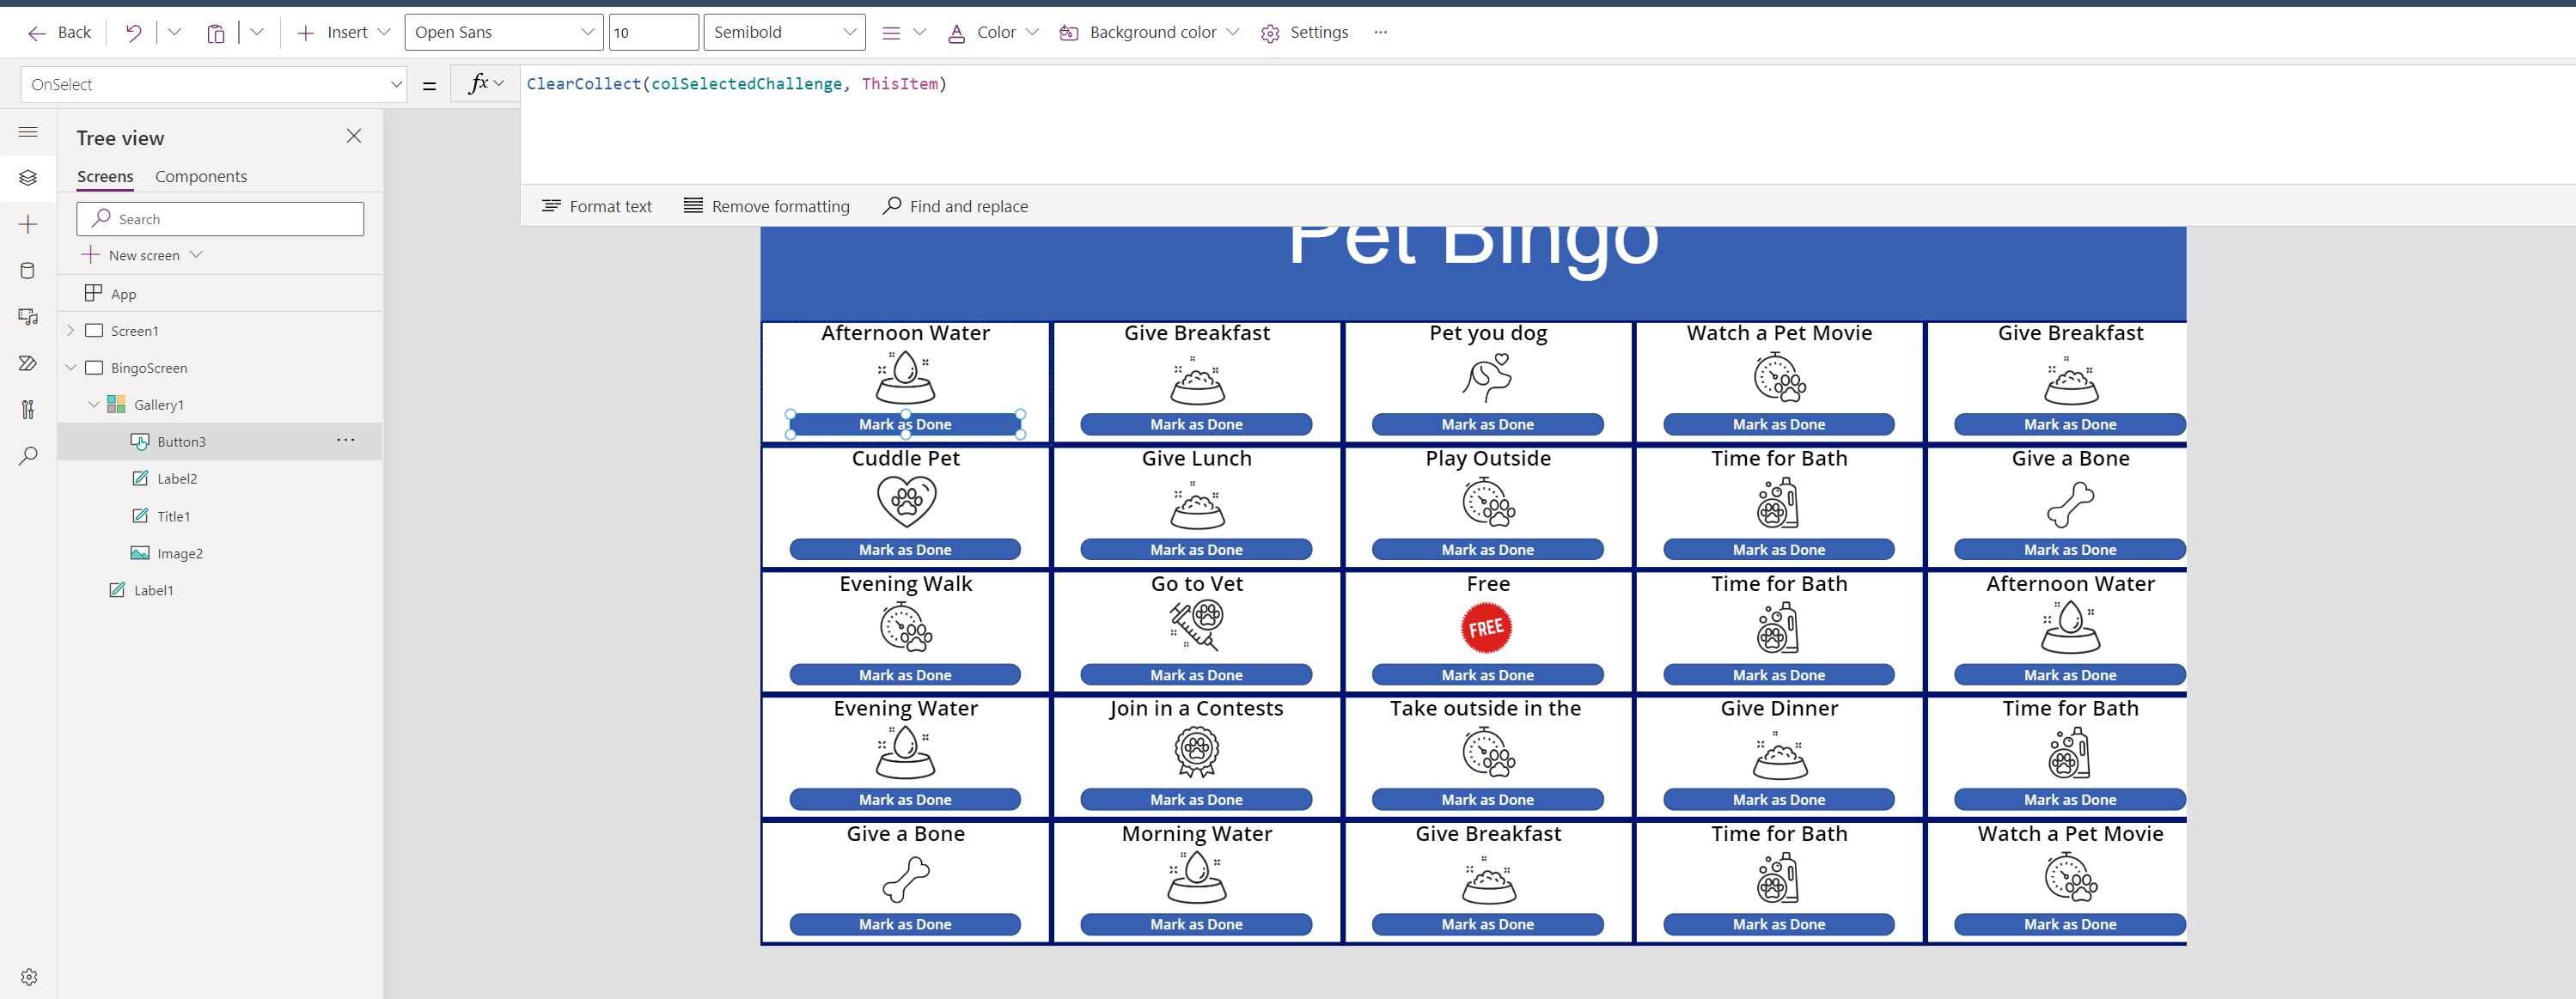
We pass the item we click to a collection, and we will use that on the next screen we create. We will call it “ConfirmationScreen.”
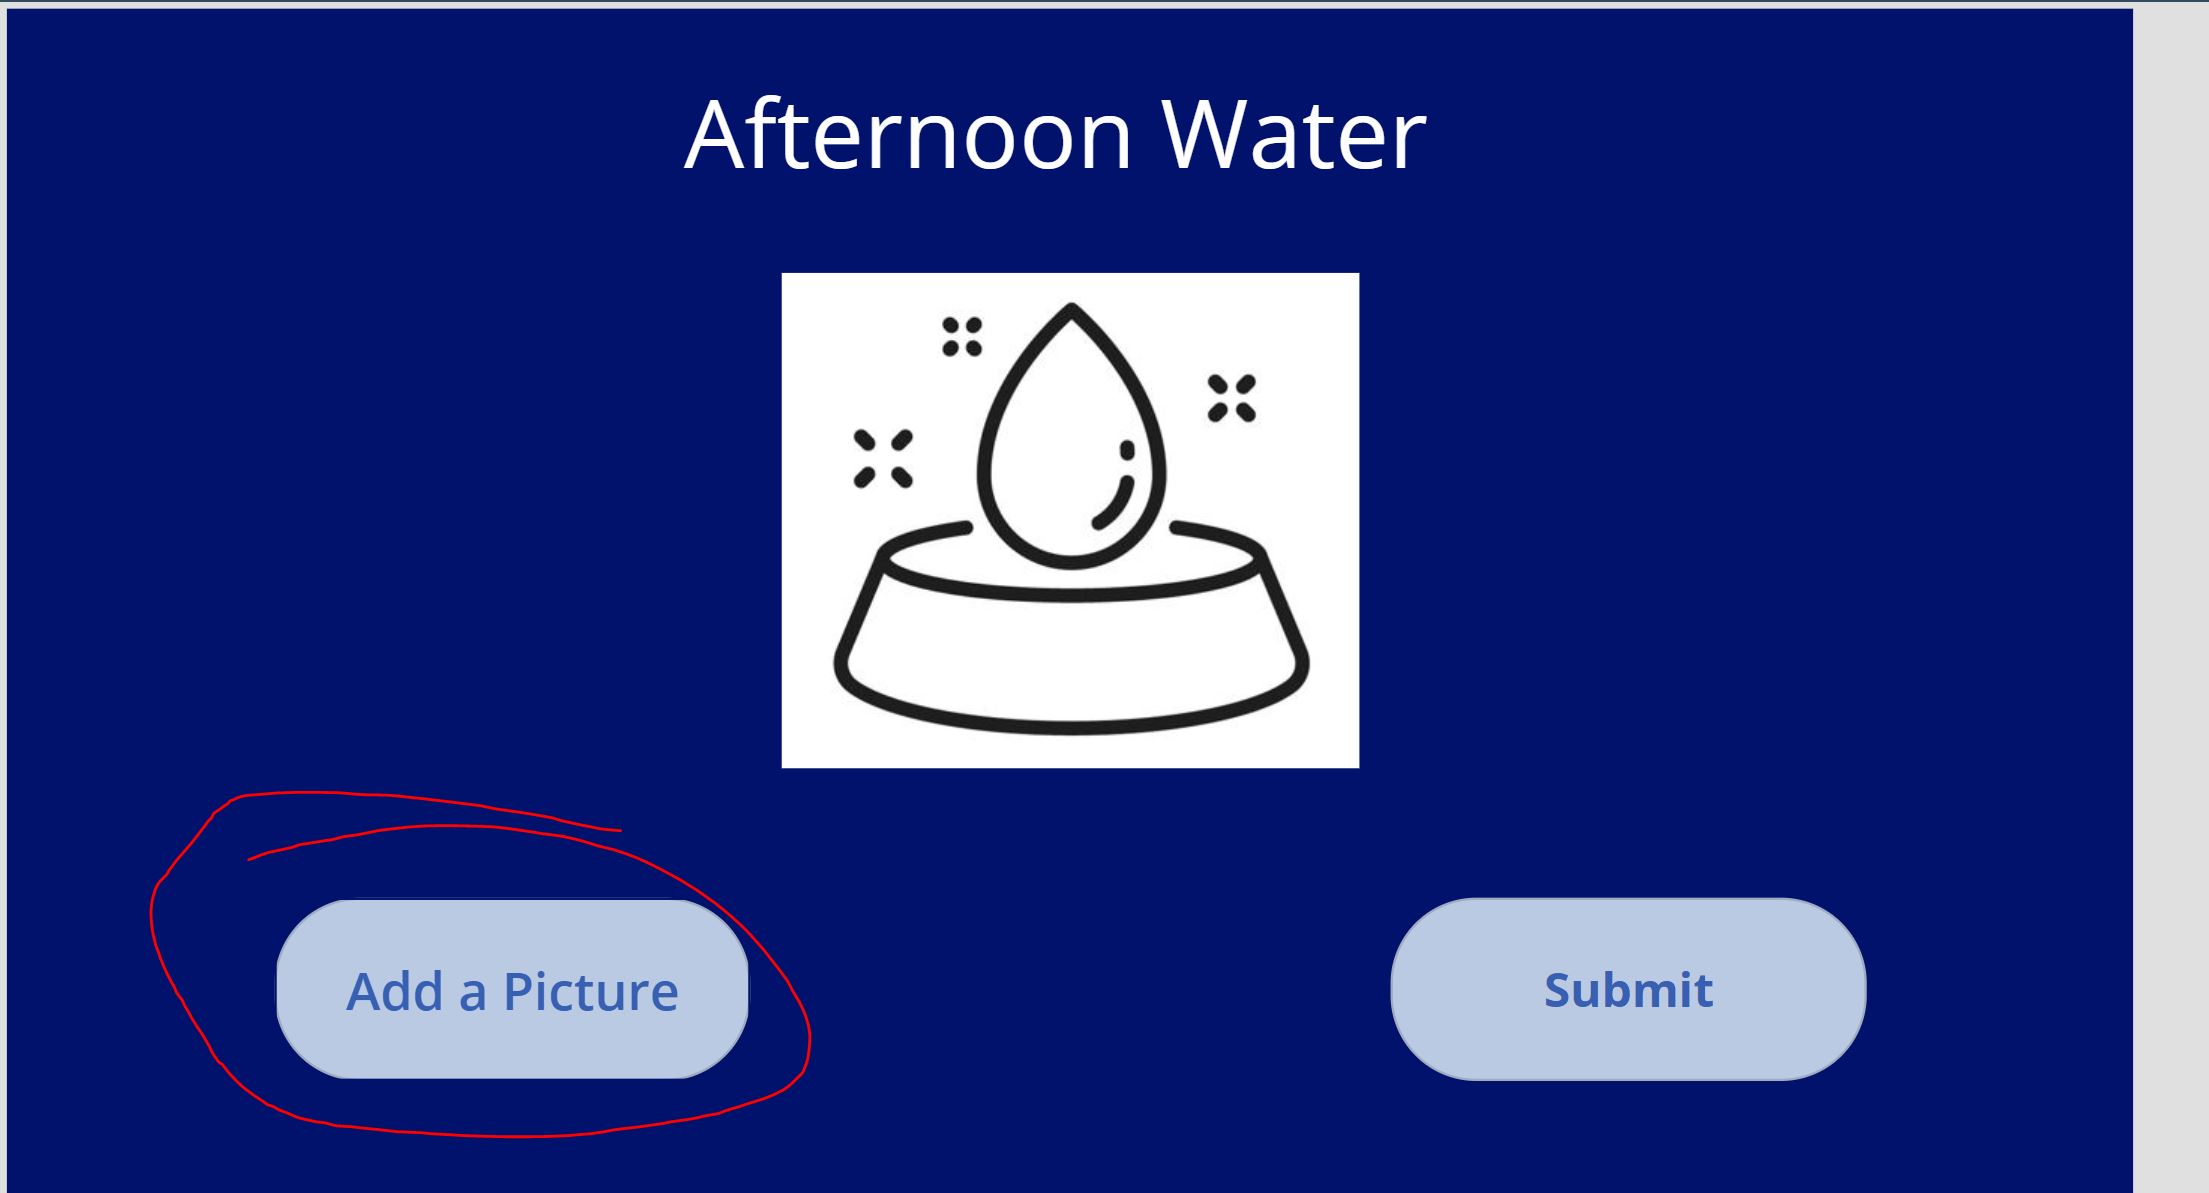
The “ConfirmationScreen” should look like this/ The purpose of this screen is for them to upload their picture as they do the activity.
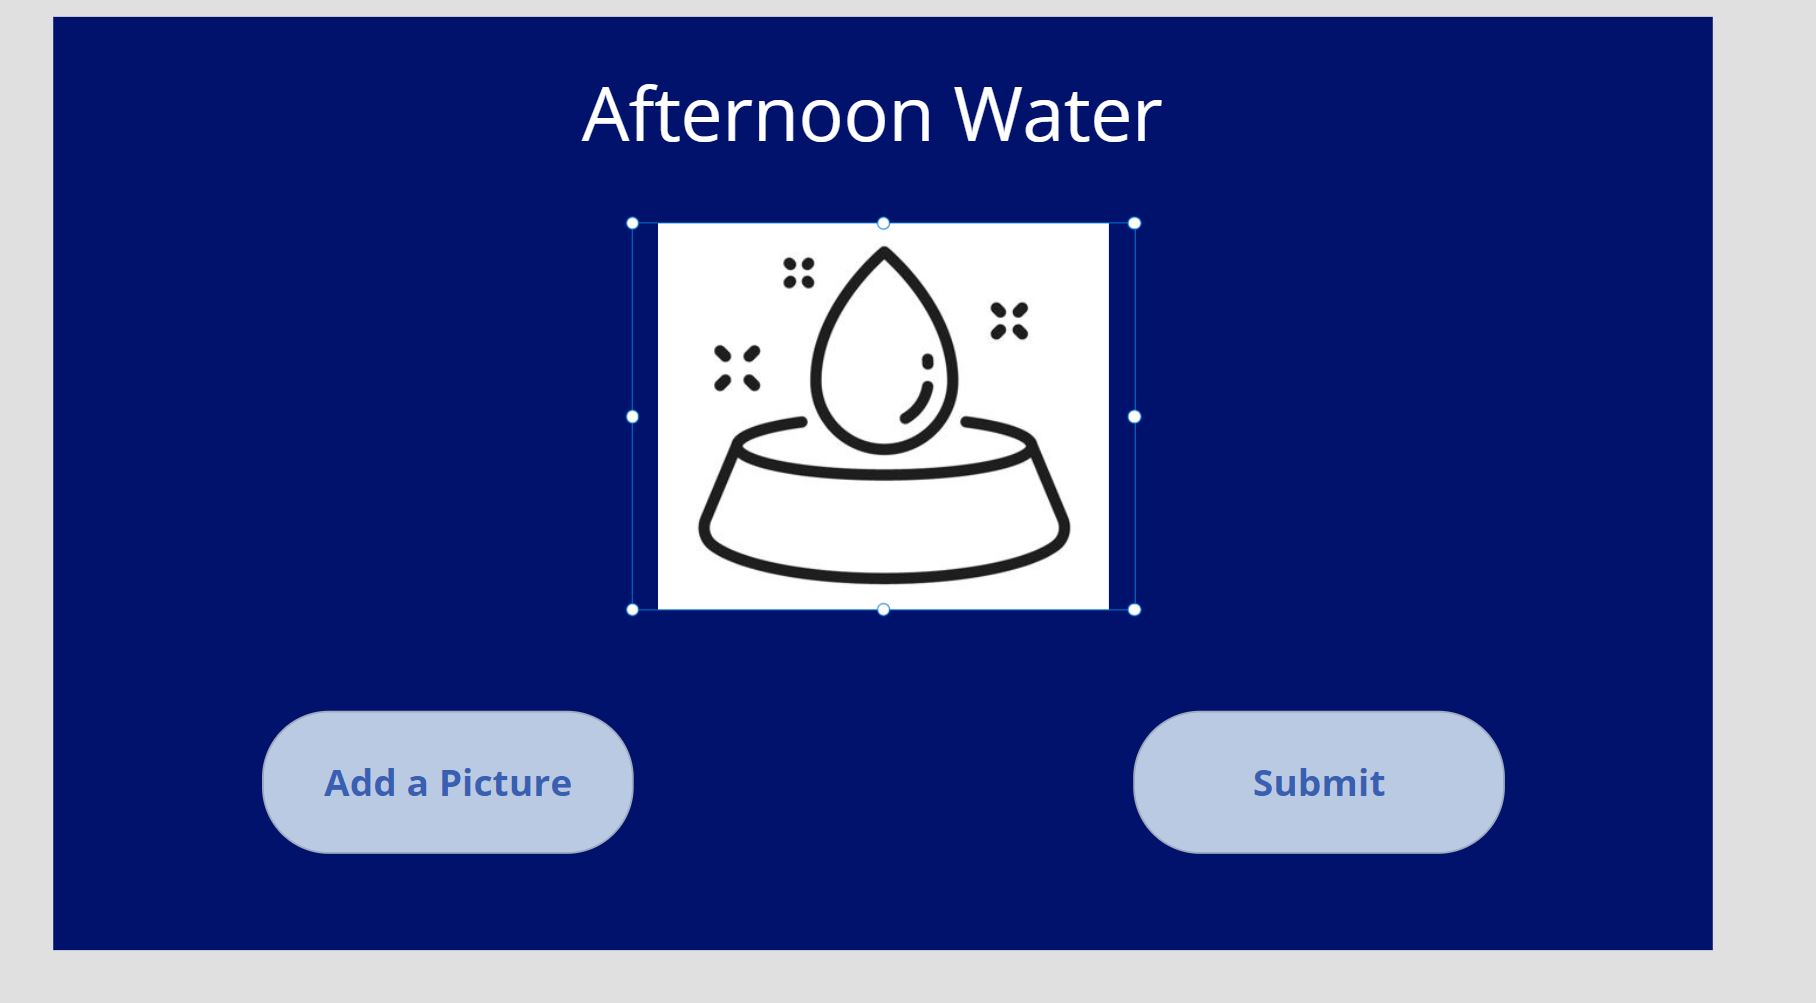
To populate the Label and the Image at the top, you can just put in the following:
| Control | Property Name | Property Value |
|---|---|---|
| Label | Text | First(colSelectedChallenge).Title |
| Image | Image | First(colSelectedChallenge).’Image Url’ |
We are just using the Collection we populated earlier and used to fill in the information on our new screen.
To add the functionality that allows users to upload a picture. Just put in an “Add Picture” control.
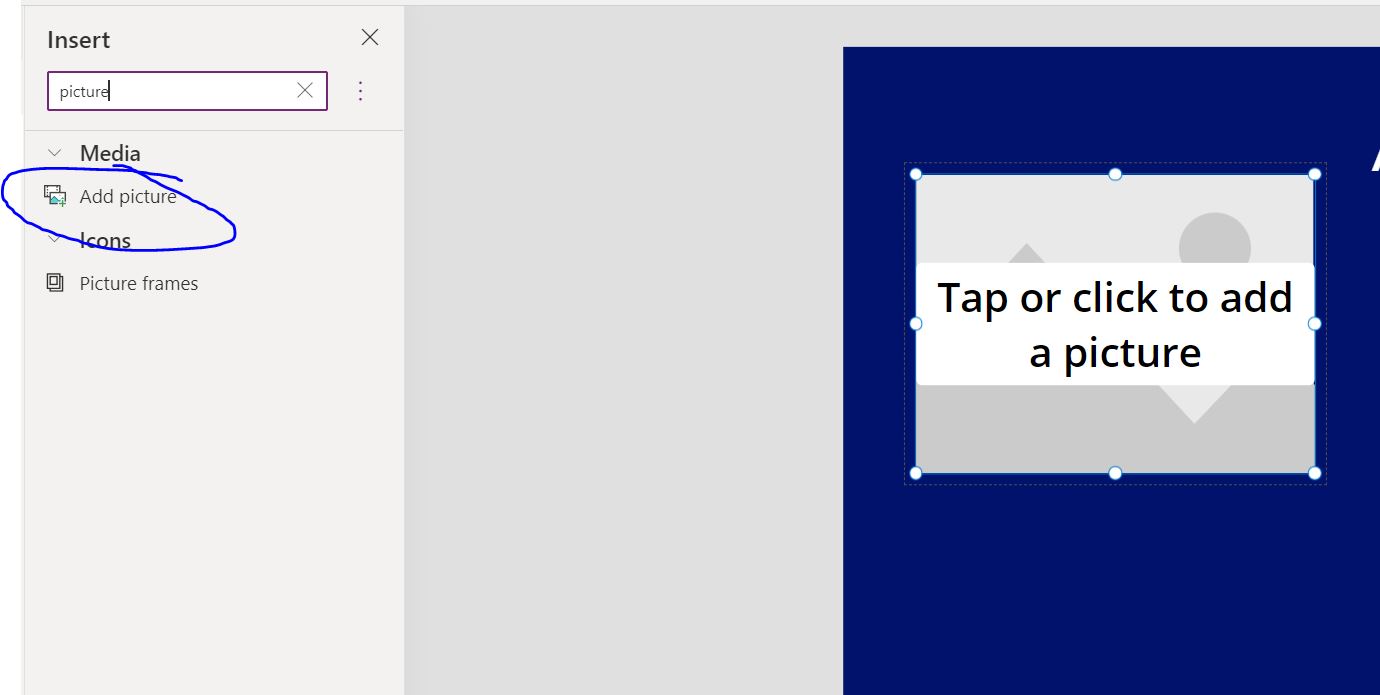
Now select the “AddMediaButton1” control inside the “AddMediaWithImage1” control, then change the “OnSelect” Property.
| Property Name | Property Value |
|---|---|
| OnSelect | ClearCollect(colCardImage,{Title: AddMediaButton1.FileName, DataStream: UploadedImage1.Image}) |
| ChangePictureText | “Add a Picture” |
| UploadedImage1: Visible | false |
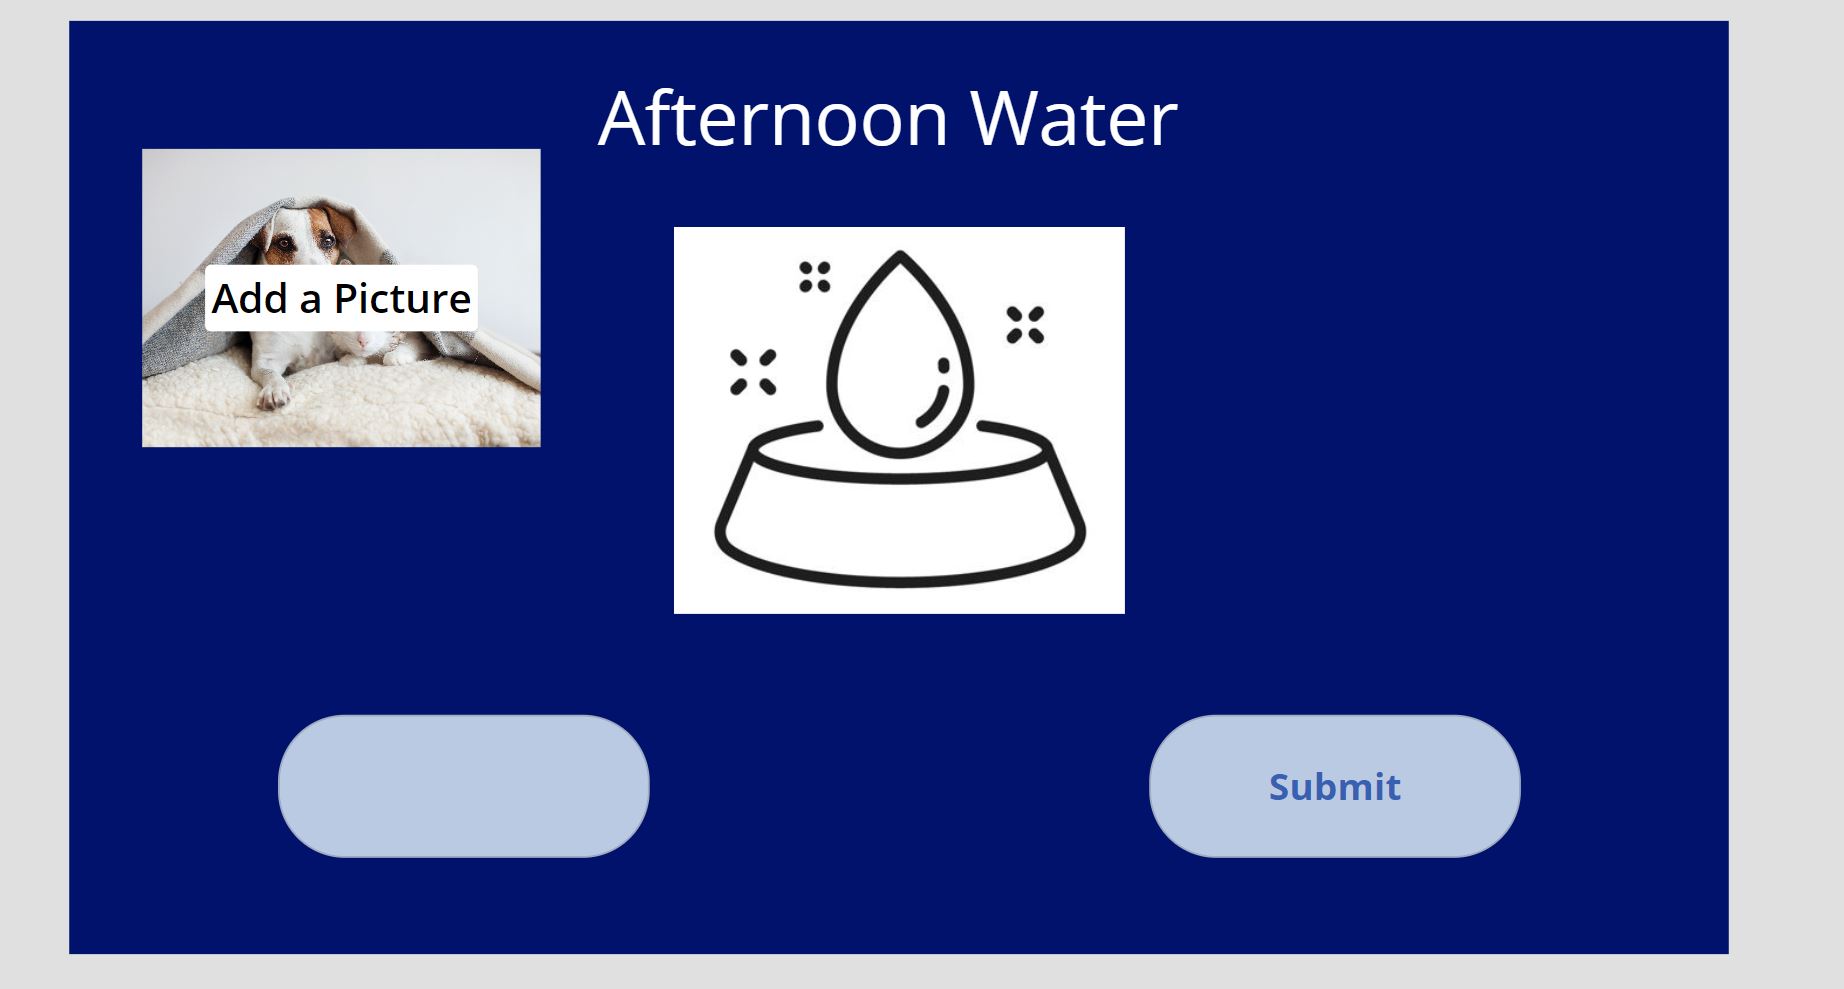
Make the background of the “AddMediaButton1” transparent, then move it on top of your button so the upload prompt will show up when they try to click on it.
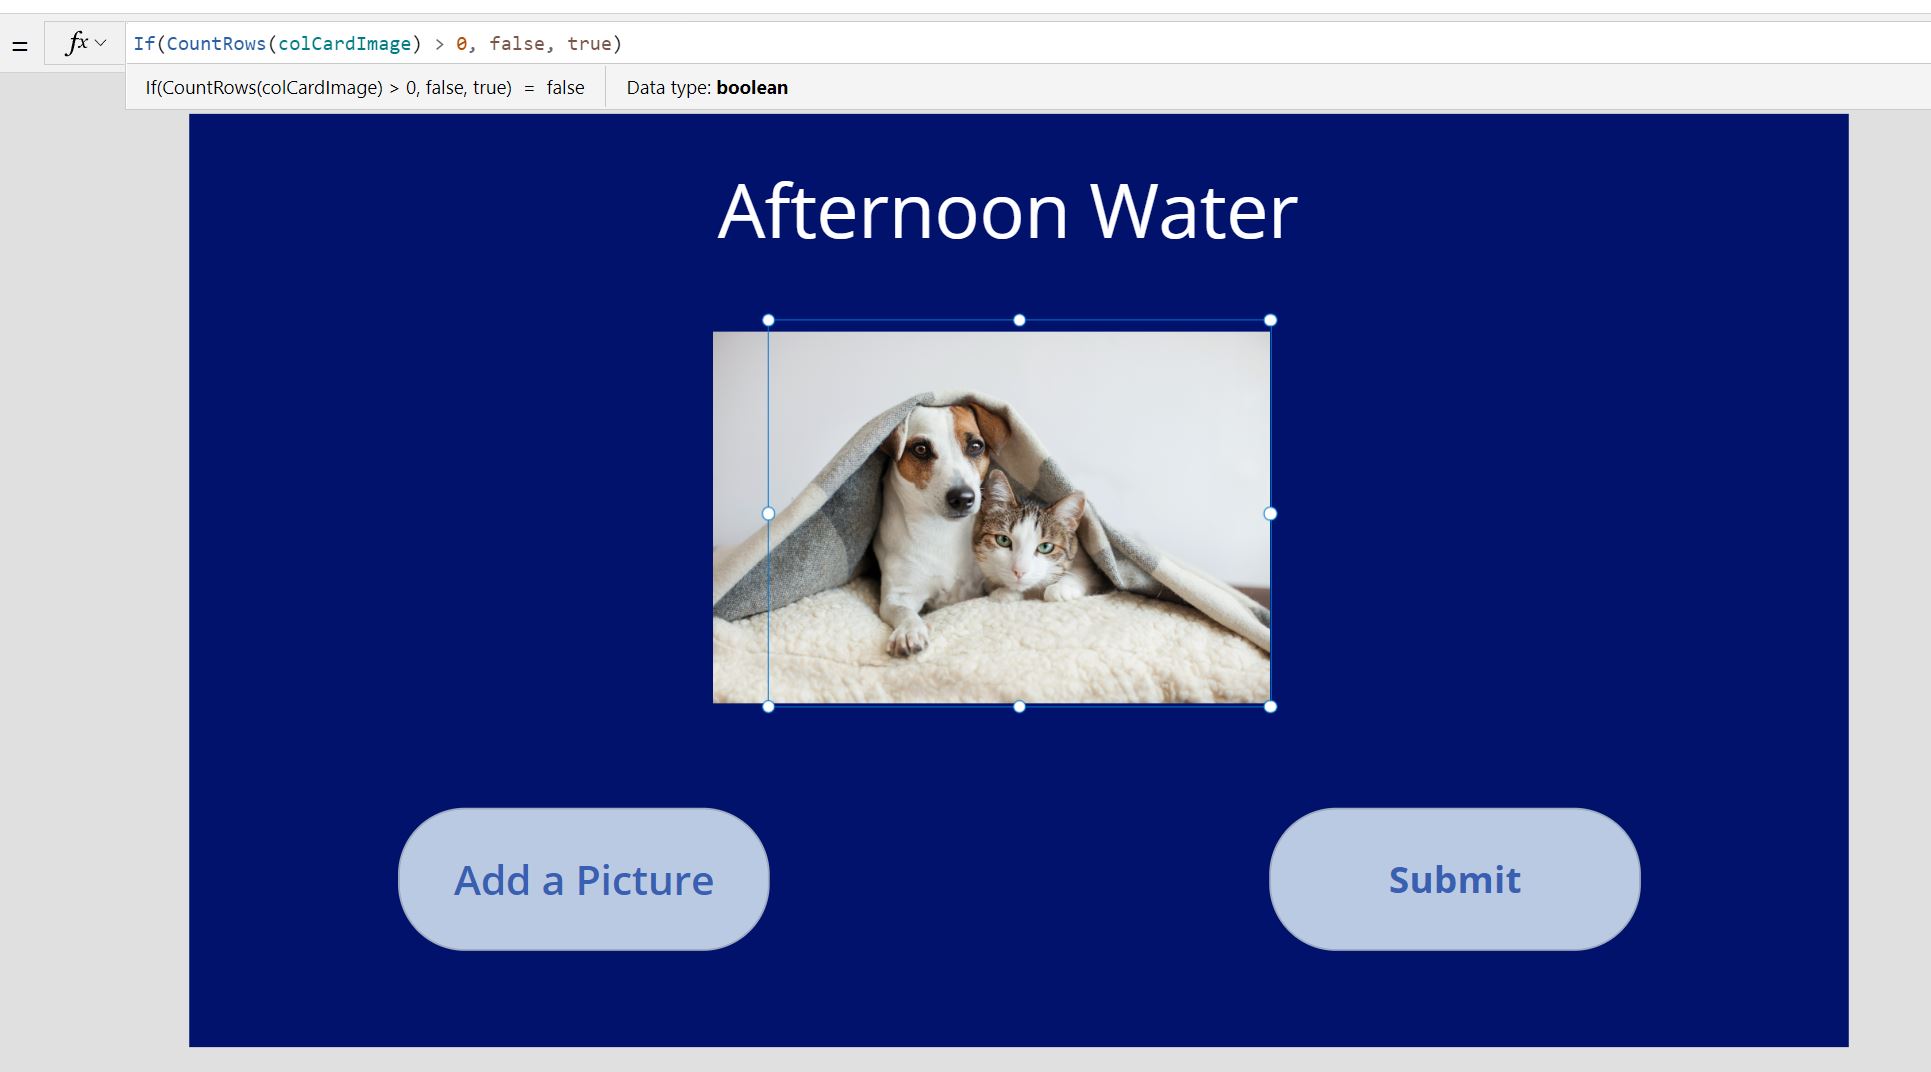
Now to show the image that the user uploaded, we add another image object with “First(colCardImage).DataStream” for each image property. We add the following condition to the “Visible” property of both images
| Property Name | Property Value |
|---|---|
| DefaultImage: Visible | If(CountRows(colCardImage) > 0, false, true) |
| NewImageControl: Visible | If(CountRows(colCardImage) > 0, true, false) |
We are doing this to give the illusion that the image in the middle of the screen switches from the image from the “colSelectedChallenge” Collection to the picture they uploaded earlier.
Now allow them to complete multiple activities at the same time, we can is every time they hit “Submit,” I will save the ID from “colSelectedChallenge” and do the following:
UpdateIf(colChallengeList, ID = First(colSelectedChallenge).ID, {IsDone: true});Collect(colCartChallenge, {ID: First(colSelectedChallenge).ID,Title: First(colSelectedChallenge).Title,PictureTitle: First(colCardImage).Title,PictureStream: First(colCardImage).DataStream,Requestor: "i:0#.f|membership|" & User().Email,RequestorEmail: User().Email,Positioning: First(colSelectedChallenge).Positioning,HorizontalPattern: First(colSelectedChallenge).HorizontalPattern});
Navigate(BingoScreen, Fade);
Don't forget to add the following code in the "OnVisibile" property of the "ConfirmationScreen." So that the image screen always reset
Clear(colCardImage);
## Submit to SharePointI added functionality when an activity is completed; I just coloured the background greenNow to save everything to SharePoint, I created a Workflow that gets triggered when I click it.And you can just send the "colCartChallenge" Object Aray as a Variable to your workflow.


